Thursday, July 12, 2012

The Amazing Single Ingredient Ice Cream

Could it be true? A creamy delicious concoction made from just one ingredient? This yummy little secret has been all over Pinterest lately so, for those of you who haven't heard yet, I thought I'd share.

The single ingredient is, in fact...
bananas! That's it. Frozen bananas.

Now some people want to get all fancy and start adding other stuff, but then it wouldn't be one ingredient, would it?

Here's what you need:
Bananas. Preferably a little over ripe. The kind that are starting to turn but not as far along as those used for banana bread.
Slice them up and put them on a wax paper lined cookie sheet. Put the sheet in the freezer for at least a couple of hours. Once they're pretty much frozen you can put them in a freezer bag for later use.
When you're ready to make the ice cream just pull out some of those slices and put in the blender or food processor but don't turn it on quite yet. (Some people say not to use a blender but I've had no trouble with either.)
So after about 15-20 minutes, turn the blender or processor on.
At first, the banana will look crumbly and start sticking to the sides. You'll need to scrape often.
As you continue to blend and scrape, the concoction will get creamier...
and creamier...
When it looks ready, scoop it out of the processor and serve or you can put it in a bowl and put it back in the freezer for another 10-15 minutes to harden it up a little.
If you're feeling really crazy you can add some peanut butter or frozen strawberries or raspberries. The possibilities are endless. Enjoy!

Monday, June 25, 2012

Guilt-Free Meatball Sandwich

My husband and I are trying to eat healthy but we still want delicious food. So, although I've never done it before, I've decided to try to take some favorites and make them low calorie/low fat.
I was craving a meatball sandwich and figured that I could make it healthier without sacrificing taste. These turned out lovely and are around 400 calories per sandwich (including all optional ingredients listed). They were so filling that even my husband could only eat one.
You can make a ton of the meatballs and freeze them for up to six months!

What you'll need:

Boneless, skinless chicken breast or ground chicken. I used 6 lbs which made 60 two-ounce meatballs. (those are some big meatballs. If you want to make less, just figure 3 (two oz) meatballs per sandwich.)

2 eggs + 2 egg whites

3 slices multi grain bread - shredded, preferably low cal

3/4 - 1 cup breadcrumbs (use only if meatballs are too sticky when rolling)

fresh parsley - chopped

mushrooms, peppers, onions - sliced, fresh basil (all optional)

tbsp olive oil

pat of light margarine

1/4 cup parmesan (optional)

whole wheat rolls

low cal or thinly sliced cheese

light spaghetti sauce

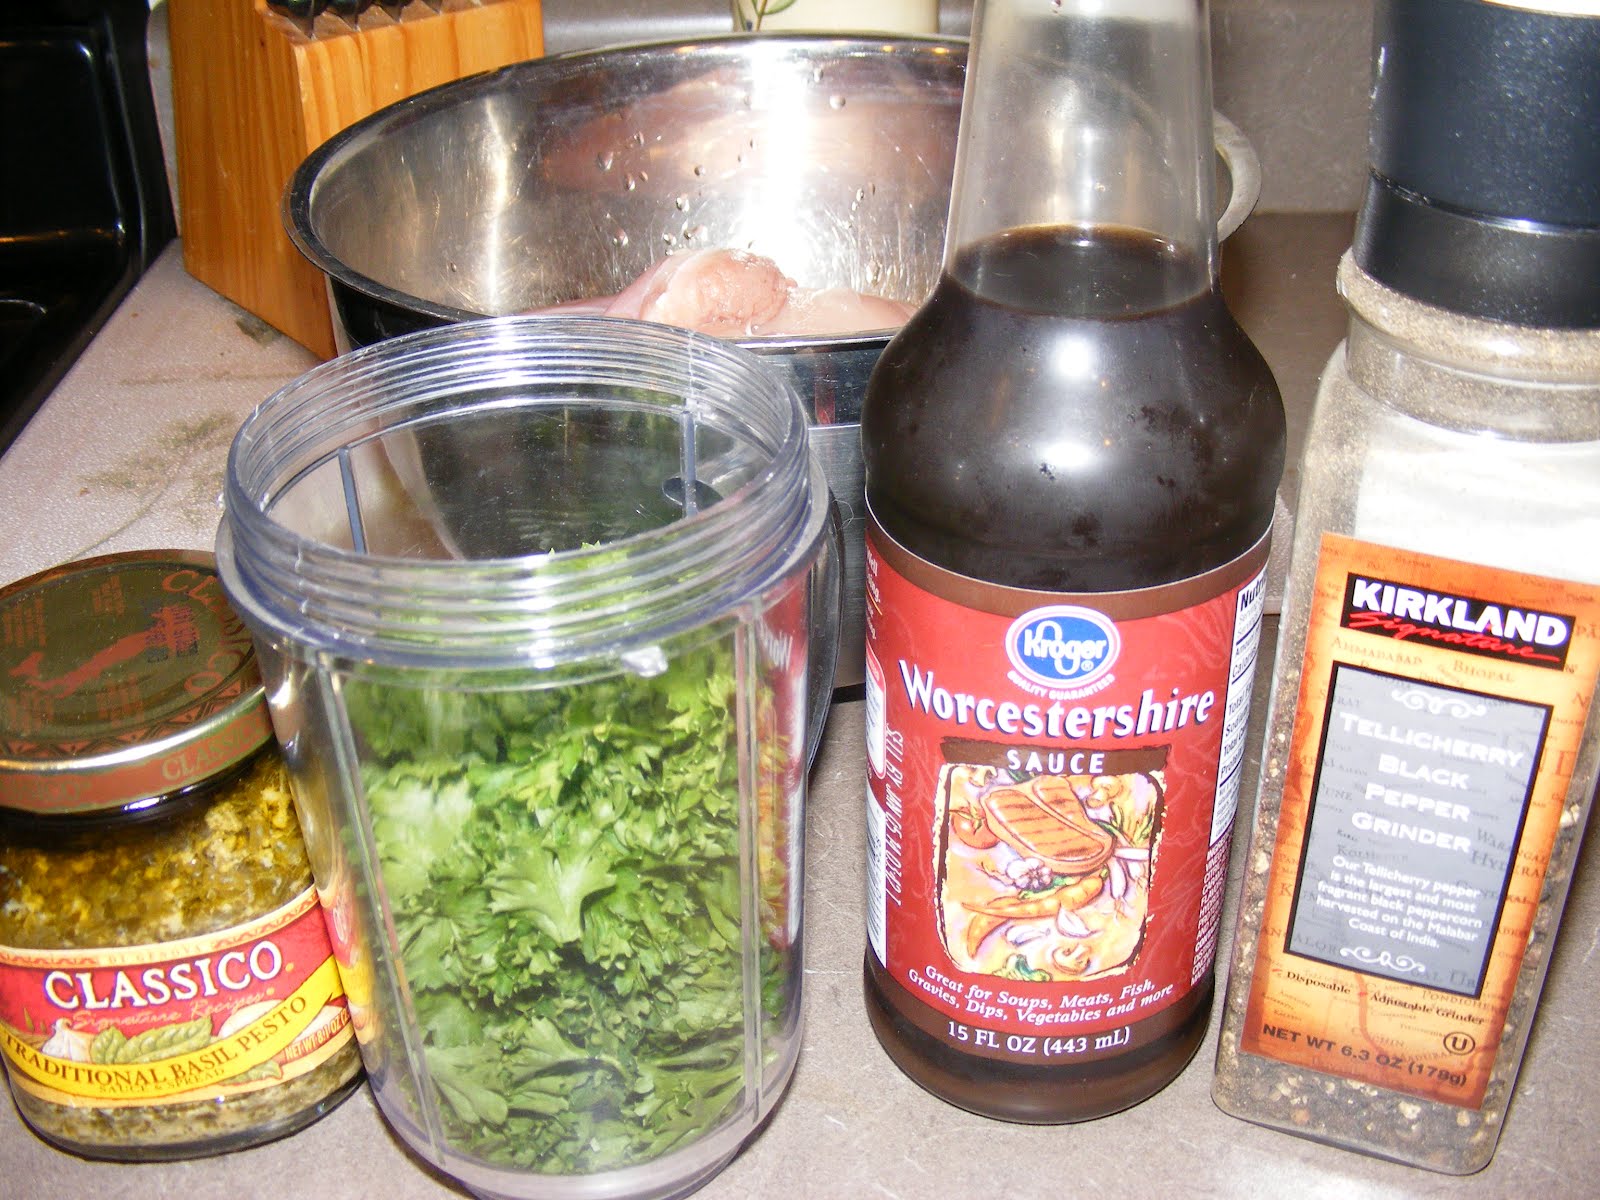
Here are the ones I used:

If you have a meat grinder or food processor I suggest grinding your own meat. You can trim off all fat and it's cheaper. If not, you can buy pre-ground chicken, just make sure it's only breast and no dark meat.

Cover a cookie sheet with foil, coat foil with a small amount of olive oil so the balls won't stick.
Add chicken, eggs/egg whites, minced onions, parsley, and bread to a large bowl. Mix thoroughly. If meatballs are too sticky to roll, add breadcrumbs, if not, roll into about 2 inch balls and place on sheet. You can put them close together, but not touching.
Bake in a preheated oven at 400 degrees for about 25 minutes or until mid temp of meatball reaches 165F. I admit, I let mine get to 175 because I'm always afraid to undercook chicken. You don't want to overcook too much or they will be dry.

Pour your sauce into a large pan or pot. I used two jars but I only added half of the meatballs. The rest went into the freezer after they cooled.
Add meatballs to sauce and heat on medium, turn down to almost low when the sauce starts to simmer. Cover but leave lid partially open to vent.
You can simmer them like this for as long as you want. The longer you simmer, the more sauce and flavor is infused into the meat.
I only left mine for about twenty minutes because we were
STARVING! :)


If your sauce seems too thin, add the 1/4 cup parmesan and continue simmering with lid partially open until it's thickened.

In the meantime, add the olive oil and pat of margarine to a pan over medium heat. Add onions, peppers, and mushrooms and saute until cooked.
Add fresh basil to your sauce. My leaves are small so I just pulled them off of the stem and added them whole. If you are lucky enough to have large leaves, you'll need to cut them up.
Cut a "V" shape into the top of your rolls to hold the meatballs. You can save even more calories if you omit the bread that you cut off.
Add some sauce and three meatballs to your sandwich. Top with one slice of cheese (cut in half), add pepper mixture and serve.
You can add additional sauce to the sandwich if you like it messy. It adds hardly any calories.
Enjoy!

Thursday, June 21, 2012

Family-Friendly Mongolian Beef

This is a family-friendly way to make Mongolian Beef, (meaning not spicy). You can add pepper flakes or chili peppers if you want to spice it up.

Here's what you'll need:
2lbs flank or sirloin
oil for sauteing
1 tsp minced ginger or ginger paste
3/4 Tbsp chopped garlic
1 cup soy sauce
1 cup water
2 cups dark brown sugar
1/2 cup cornstarch
green onions

For the sesame green beans:
frozen (or fresh) green beans
sesame oil for sauteing
sesame seeds

Slice beef in to thin, bite-sized pieces and toss with cornstarch thoroughly until well-coated. Allow to rest for 10 minutes.
In the meantime, add a Tbsp or so of oil in a pan on med/low. Add the ginger and garlic and saute for about 1 minute.
Add soy sauce and water and stir to mix evenly about 1 minute. Add brown sugar, turn heat up to medium and stir til dissolved, 2-3 minutes. Remove from heat.
Now that the beef is ready, add 1 cup oil to a large wok or pan and heat on medium. Once oil is heated, saute beef for about 5 minutes, until it is a nice creamy brown color. Do not overcook.

(notice my giant 18in chopsticks lol)
Once browned, use a slotted spoon to drain the beef on a layer of paper towels. Drain oil from wok and return to burner. Add beef and saute for a couple of minutes. Add sauce prepared earlier and continue cooking. Add green onions to taste, cut into about one-inch pieces. Saute one more minute and remove from heat.

Use a slotted spoon to serve over rice or noodles.

For green beans, heat frozen green beans per directions. Add 1 Tbsp sesame oil to the same pan that the beef sauce was in. Add sesame seeds to taste, saute for 1 min. Add green beans and mix thoroughly. Use slotted spoon or tongs to serve.
Another delicious meal in under 30 minutes!

Tuesday, June 19, 2012

How to Smoke Meat (Without a Smoker)

Personally, I love the taste of smoked meat. They even make charcoal nowadays that infuses flavor into your meat. Sadly, I only have a gas grill.
I finally decided to try "smoking chips" to use in the grill and they work great! You can find them in the BBQ section by the charcoal and lighter fluid.

Here's the one that I bought.
For this post I'm using beef ribs because they were an excellent price,
but you can use virtually any meat or even veggies.
All I did to prepare the meat was sprinkle on some dry rub and pat it in. It was a "Montreal" blend I believe. The brand doesn't matter.
To prepare the wood chips you just use Heavy Duty Foil to make a pouch that's about 6in x 4in or so. (Enough to hold 2-3 handfuls of the the stuff). Wrap it up and then poke a few holes in the top of the pouch for the smoke to escape. The instructions are on the bag.
Turn on your grill, place the pouch in the center, close the lid and wait for the pouch to start smoking. It took mine about 15 minutes but I'm sure it varies by brand.
Once it's smoking, move it to a corner of the grill and add your meat.

As you can see, my first attempt to add the meat was unsuccessful and caused a fire that was large enough to call for help from the hubby! haha Doesn't look too bad in the pic,
but trust me, the entire grill was up in flames!
Luckily, the ribs survived unscathed. I learned that the layer of fat that lines the bottom of the ribs drips when heated and is extremely flammable! Hey, I'm no expert!

My 2nd attempt, with a foil-lined grill minus a hole cut out where the packet goes.
After about 20 minutes or so on the med/low
setting with the lid closed.
At this point you can mop on barbecue sauce and let it cook a little longer or you can eat them just like this.
As you can see, we like our beef a little rare.
You can grill for about 5-10 min longer on
med/low for well-done.

Thursday, June 14, 2012

Grilled Pesto Chicken & Pasta

There was a recipe card for pesto chicken in my mail this week and it looked pretty darned good so I thought I'd try it out... with my own twist of course.
Here's what you'll need for the chicken:


Boneless skinless chicken thighs (I had 8 small-ish ones)

About a cup of fresh, de-stemmed parsley
(To tell you the truth, mine wasn't all that fresh, but it worked just fine lol)

2 Tbsp Worcestershire (I despise that word!)

2 Tbsp pesto sauce

black pepper

Run the parsley through the blender, food processor, chopper...whatever you have to finely mince it.
If you don't have any of these things then just chop chop chop until it's as finely minced as you can get it.
Add all of the ingredients except for the chicken to a ziploc bag that's big enough to hold your chicken. Mush it around, (on the outside of the bag), until everything is mixed well.
Add your chicken, one piece at a time, making sure to coat each one well with the marinade. Close the bag and allow to marinate for at least 15-30 minutes at room temp or in the fridge.
Grill for 6-7 minutes on each side to reach an internal temp of 165 but try not to go over.

You can also cook these on an indoor grill, (like my ancient Georgie. I swear it must have been the first one ever made.)

Anyway, while the chicken is marinating, start boiling the water for your pasta and begin making the pasta sauce.
What you'll need:
1/2 red & orange pepper (leftover from my last post)

1/2 small sweet onion

handful of sun dried tomatoes

the rest of the pesto sauce

a little butter or olive oil for sauteing

Saute the peppers, onion, and tomatoes
on medium until nicely browned.
Turn off the heat and stir in the rest of the jar of pesto. When your pasta and chicken are ready, mix sauce with pasta.
Serve the chicken over the top and add fresh basil if you have any.

Tuesday, June 12, 2012

Kielbasa Potatoes and Peppers

I remember my mom used to make something vaguely similar to this when I was a kid. I had nothing planned for dinner last night (again) and I needed something quick because it was getting late. This dinner is fast and, as with most of my dinners, it's adaptable based on what you feel like doing.

For my version, which made enough for five hungry people, here's what you'll need:

2 packages of kielbasa or smoked sausage
A sweet onion
2 white and 2 red potatoes (big-ish ones)
mushrooms
1 whole green pepper
1/2 each large red and orange pepper
Also some butter or oil, parsley (opt), salt


The first thing is to cut everything up as shown in the pic. Slice the sausage, strips of peppers and onions. Cut potatoes into 1/4 inch rounds and then halve the rounds.
A trick that I've learned for frying potatoes is to boil them first to make cooking easier. Bring just enough water to cover the potatoes to a boil and boil for five minutes. Drain.
Ok. Now you'll need two pans. For the first pan, heat some oil or butter and add drained potatoes. Put the sausage in the other pan to brown. Both on medium.
For the potatoes, make sure that you always have enough grease in the pan so that they don't burn. After about 5-6 minutes, once the potatoes have started to brown nicely, add the onion and a sprinkle of dried parsley.
After 2 minutes add the peppers and mushrooms. At this point your sausage should be done and you can remove it and add the grease from the meat pan to the vegetable pan for added flavor. Saute for another minute, then add the meat.
Add a sprinkle of fresh parsley on top if you have any and serve it up. A quick and flavorful meal that everyone will love!